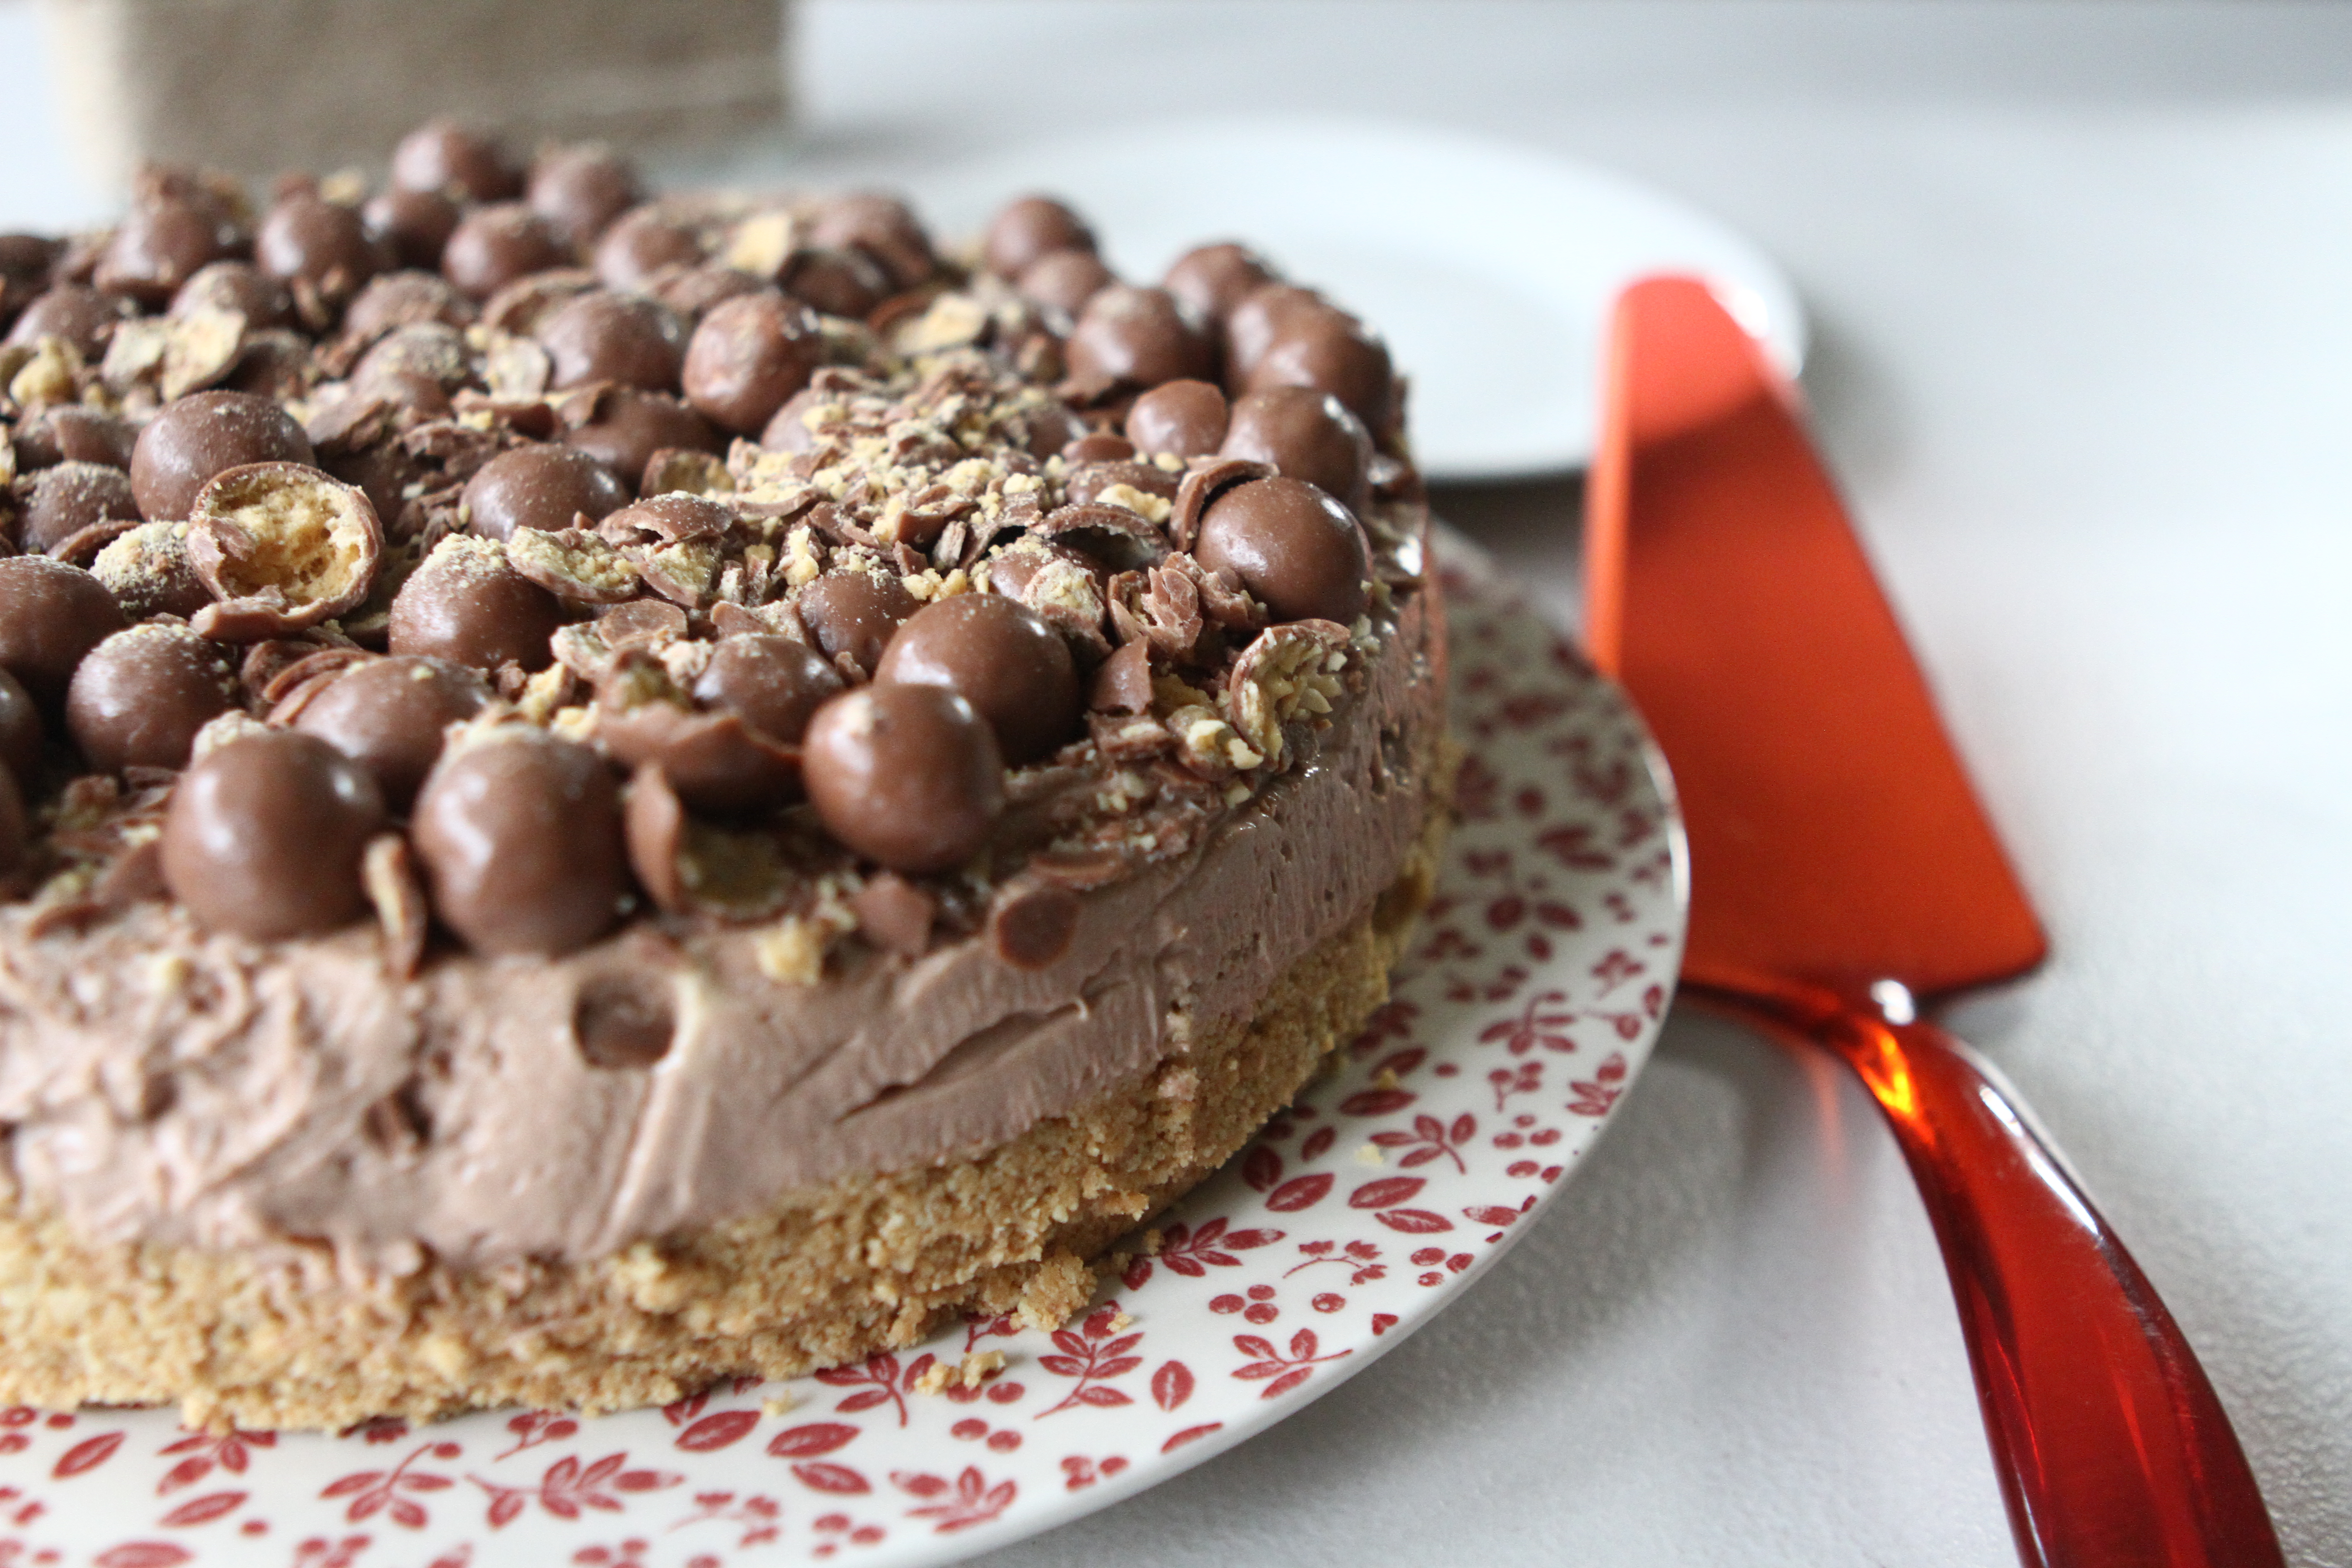

It was my friend Nina’s birthday today and I offered to make her a cake as a gift, and she eagerly said yes please! A chocolate cake was requested and as I had an abundance of Smarties left from Jenson’s second birthday cake that I made for his party (post still to follow about that!), I thought they would decorate the cake perfectly.
The chocolate cake underneath is my usual recipe , sandwiched together and then covered in my cream cheese and chocolate spread frosting. The Smarties were a little fiddly to add to the cake in places, and hence my cake does look a little messy in places (where the Smarties fell of and I had to really them with some extra frosting!), and also where I tried to stick to the same colours in a line on the top!

However, despite all of that, and I think those faults are purely my own because I assembled it and know of them, I do think this cake is very eye catching , colourful and strikes a chord with any big or little kid who is having a birthday!

I do not have any photos of the inside to show the chocolate sponge, but to be fair it is the outside which looks most impressive, although I have been reliably informed by Nina that it tasted as good as it looked 🙂

- 200g unsalted butter
- 200g caster sugar
- 4 eggs
- 160g self raising flour
- 40g cocoa powder
- 250g full fat cream cheese
- 1 x 400g jar of chocolate spread (I used the Tesco value one)
- 12 -16 ish packs of Smarties ( i lost count!)
- pre heat the oven to 180oC / 160oC (fan)
- grease and line 2 x 8 inch sandwich tins
- cream the butter and sugar together for about 5 minutes until pale and soft
- add the eggs and a spoonful of the flour and beat for a few more minutes
- fold in the remaining flour and the cocoa powder
- divide the batter between the two tins and then cook in the oven for 22-25 minutes approx
- leave the cakes to cool
- divide your Smarties into 8 pots to hold each different colour
- once the sponges are cold to the touch, make your frosting by beating the cream cheese and chocolate spread together
- sandwich the two sponges together with some of the frosting
- then cover the cake with the remaining frosting (you might not need it all)
- Then cover your cake with the Smarties as per my photos - it does get a little tricky on the top of the cake and mine looks a little messy, but take your time and the finished effect looks really eye catching.
I have to be honest, sorting out all of those Smarties into each of the colours is a bit of a faff, and it is obvious that the brown Smartie is the most common, as I had many more of those from the dozen or so packets I used than the more vibrant coloured ones!


hosted by Maison Cupcake


love the pattern of the smarties!
Thanks Helen x
What a great idea for colourful decoration! I am always totally intimidated by fondant and fancy decorating skills. I do love a god smartie, although for me they would all have to be range ones (the best smartie imo) 😉 #BakeoftheWeek
What a lucky friend, your cake is soooo eye catching – it’s absolutely beautiful Jenny and clearly worth the effort in sorting the coloured smarties and applying them to the frosting. And by the way, i really can’t see any faults in the lay out of the smarties 🙂 #CookBlogShare
Angela x
thank you so much for such a lovely comment 🙂 x
Yummy yummy! I have a serious problem that whenever I visit your site i want to eat cake xxx
thank you and I am sorry about that lol x
This looks stunning! What patience you must have had to arrange the Smarties like this! Thanks for joining in with #BAKEoftheWEEK !
thank you – it was a bit fiddly! x
that looks spectacularly pretty! What an amazing idea to use the smarties like that. x
thank you x
Those who have kids should learn this recipe from you. I mean kids would love this chocolate cake, so beautiful and delicious. Thanks for sharing
Wow! This looks AWESOME!! My kids would love this (and so would I). Pinned 🙂 Eb x
Thank you. it is a cake which has appeal for all kids – young and old 😉 x
What a gorgeous cake Jenny, such a pretty pattern with the smarties. I love the idea of a cream cheese and chocolate spread frosting. Pinned for later.
Oh my goodness I’d have killed for this as a child 🙂 Delicious! Thanks for linking to #CookBlogShare
This looks gorgeous! Your cakes always look perfect for birthday parties, I love the pattern you’ve made with the smarties. #CookBlogShare
Oooh Jenny this looks so pretty! So many Smarties and what patience you must have making sure the Smarties all follow the same pattern. Thank you for sharing with #CookBlogShare x
Another incredible cake, how you are so slim, I’ll never know! x
This is completely stunning – I can only imagine how crazy my kids would be after eating all those smarties though! Thanks so much for joining in with #BakeoftheWeek
Wow…. that’s really effective! It looks beautiful. Definitely worth every last fiddly bit of effort. What a great friend you are!
Sadly we cannot eat actual Smarties (they contain wheat flour), and the alternative chocolate beans are just not as varied in colours and hues…. Darn!